
Installing the plastimatch windows binary
Download a plastimatch window binary file
Webpage for downloading: https://sourceforge.net/projects/plastimatch/files/Windows%20Binaries/
Download either win64 or win32 according to your windows version.
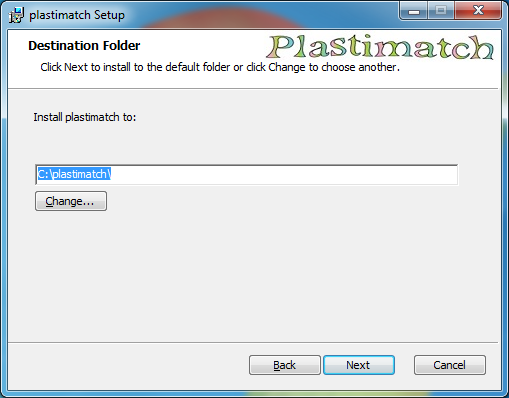
Run the downloaded “plastimatch-O.O.O-winOO.msi” file
During the installation, specify the installation directory. If you do not have permission to install into the default location, a user-created folder is recommended.
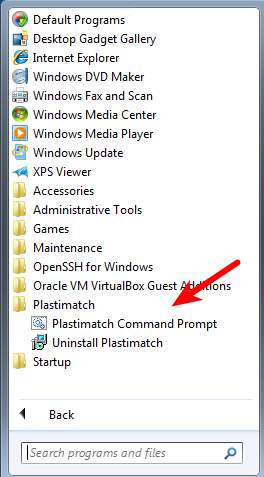
Run a sample deformable image registration using a command line
Run the plastimatch command prompt, which sets the path. Or if you chose to add plastimatch to your path during install, you can run an ordinary command prompt.
Navigate to the plastimatch install location. Type the following command line (OR copy the following line and paste it onto the command prompt using “mouse-right-click and paste”):
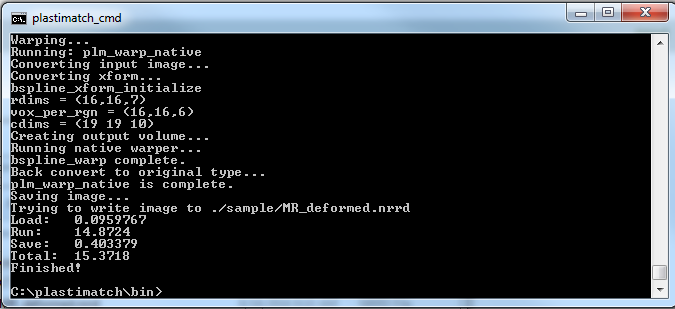
plastimatch register "./sample/command_file_example.txt"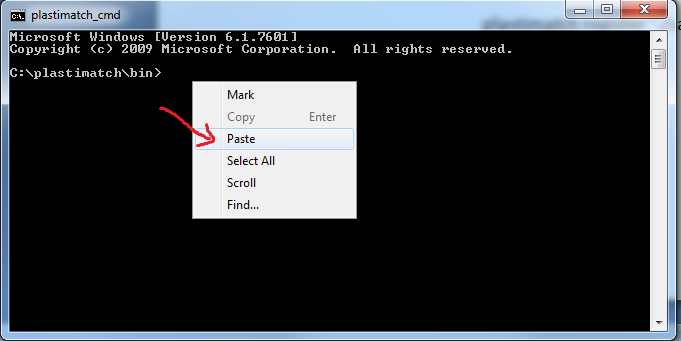
A deformable registration will be performed between sample CT and MRI images and the result will be saved in ”~/bin/sample” folder.
[Optional] Review images using an image viewer
There is no image viewer available inside the plastimatch, users are recommended to use a third-party software to see the images generated from plastimatch such as ”.nrrd” and “.mha” files.
- Recommended software: 3DSlicer
Download webpage for win64 users: http://download.slicer.org/
Download webpage for win32 users: https://www.slicer.org/slicer3-downloads/Release/win32/
Install the 3Dslicer
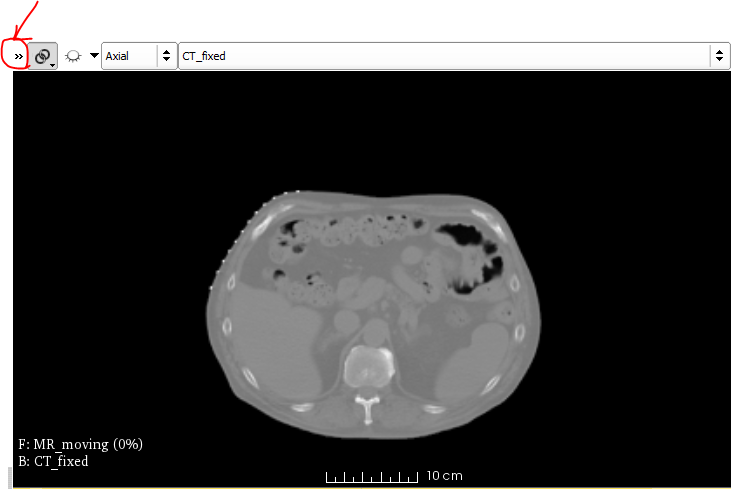
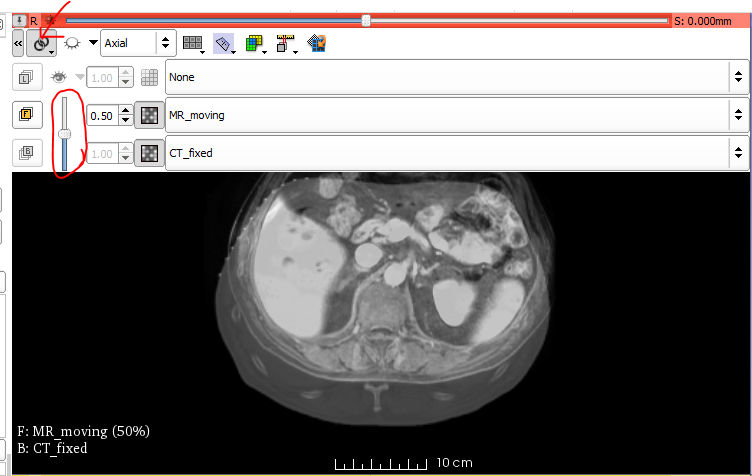
- View image files using 3Dslicer
Drag&Drop the image files onto the 3Dslicer (available in up-to-date version)
Select images for overlay and review them by using the overlay slide bar.
Question/Feedback?
Post your questions to the plastimatch community: https://groups.google.com/forum/#!forum/plastimatch